Hidden Android Features You Didn’t Know About—and How to Use Them
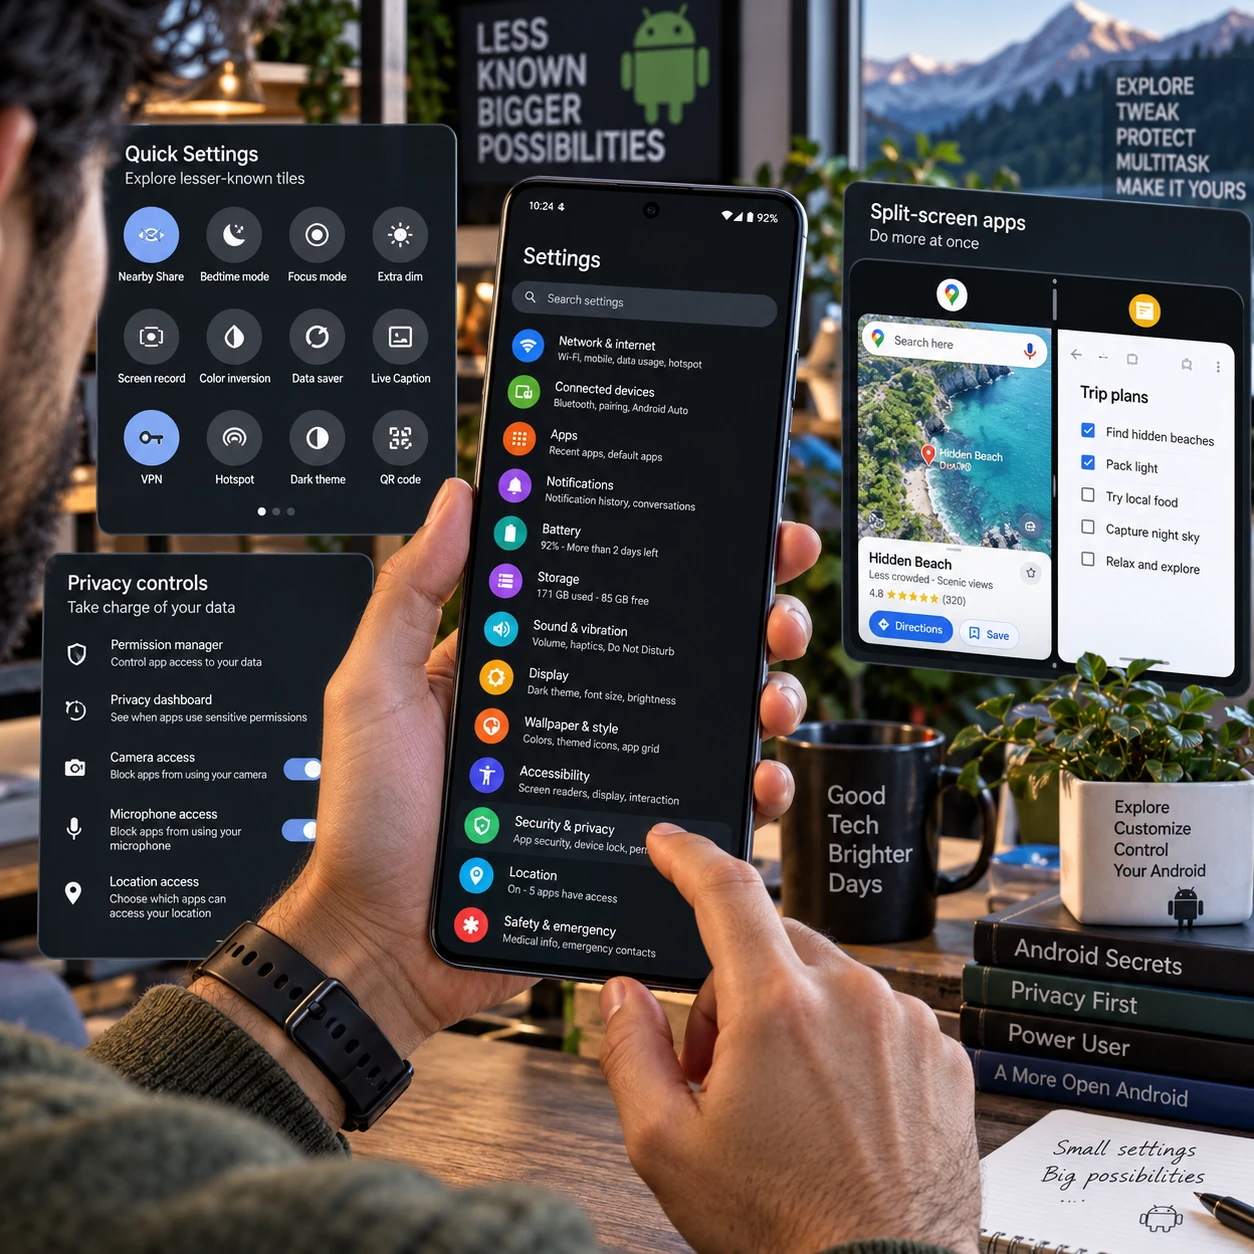
Android phones have useful tools tucked into settings, menus, and shortcuts that are easy to miss. They can help you recover dismissed notifications, check which apps accessed sensitive data, share files nearby, or make two apps easier to use at once.
These features can save taps and give you more control, but they are not identical on every phone. Android version, device manufacturer, and even the phone model can change a feature’s name, location, or availability. Here’s how to find the tools that are most likely to make a difference in everyday use.
What Counts as a “Hidden” Android Feature?
A hidden Android feature is a built-in setting, shortcut, or tool that many people overlook because it is off by default or tucked inside a menu. Availability and names can vary by Android version and device manufacturer.
There is no single hidden-features menu on Android. Some options live in Android settings, others appear in Quick Settings or only after you tap and hold an app icon. Google’s Pixel phones may use different labels from Samsung Galaxy, OnePlus, or Motorola phones, even when the underlying function is similar.
Think of these features in three groups: tools that help you find or control information, tools that make everyday tasks quicker, and tools that improve access to your phone. A setting can be useful without being right for everyone. For example, notification history is handy if you often dismiss alerts too quickly, but it is less useful if you clear notifications as soon as you read them.
Before following a path exactly, use the Settings search bar. Searching for a feature’s name is often faster than navigating menus, especially when a manufacturer has reorganized its interface.
Find Settings and Shortcuts Faster
Quick Settings gives you one-tap access to common controls, while Android’s search and navigation shortcuts can help you reach other settings without digging through menus.
Swipe down from the top of the screen to open the notification shade, then swipe down again to see the full Quick Settings panel. Depending on your phone, you may find controls for Wi-Fi, Bluetooth, Do Not Disturb, screen recording, hotspot, battery saver, or accessibility features. Tap the pencil or edit button to rearrange tiles, add available controls, or remove ones you rarely use.
Tiles are easy to overlook because the first panel shows only a selection. If you use screen recording or a QR code scanner regularly, moving its tile closer to the front can be more practical than searching for it each time. Some controls also have extra options: try pressing and holding a tile to open its related settings.
For other settings, open the Settings app and use its search field. Search terms such as one-handed mode, screen timeout, or font size can surface options quickly, though the results depend on your phone. You can also press and hold certain app icons on the home screen to reveal shortcuts, such as starting a new message or opening a camera mode. Available shortcuts vary by app.
Tip: If a tile disappears after an update or customization, check the edit screen before assuming the feature is gone. It may be available but sitting below the active tiles.
Take More Control of Notifications and Privacy
Android’s notification history can help you find alerts you dismissed, and the Privacy Dashboard shows recent access to sensitive permissions on supported versions.
To try notification history, search for that phrase in Settings. On many phones, you can then turn it on from a Notifications menu. Once enabled, it keeps a record of recent notifications, including some that you swiped away. The history is most useful after you accidentally dismiss a delivery update, calendar reminder, or message alert. It does not necessarily recover the full content of every notification, and the menu location can differ by manufacturer.
The Privacy Dashboard offers another useful check. Search for “Privacy Dashboard” or “permission usage” in Settings to see whether your phone provides it. On supported Android versions, the dashboard shows when apps accessed permissions such as location, camera, or microphone. Tap a permission to review recent activity and manage which apps can use it.
These tools make it easier to spot an app’s access, but they do not automatically decide whether that access is appropriate. A map app may need location while you navigate; a simple note-taking app may not. Review the reason and your usage before changing a permission, and remember that Android’s available permission choices depend on the version installed.
Make Multitasking and Sharing Easier
Split-screen mode lets you use two compatible apps at once, while Quick Share sends files to nearby devices without needing a separate file-sharing app.
To use split-screen mode, open the recent apps view, tap an app’s icon or menu, and choose the split-screen option if it appears. Then select a second app for the other half of the display. On some phones, you may need to open the app switcher and press and hold the app card instead. App support varies, and some apps cannot run in split-screen.
This layout works well for tasks such as reading a recipe while checking a shopping list, comparing a document with a message, or watching a reference video while taking notes. It can feel cramped on a small screen, so use it when switching between apps is more inconvenient than the reduced workspace.
Quick Share, previously known as Nearby Share, lets compatible Android devices exchange photos, links, and other files nearby. Open a file, tap Share, and select Quick Share. Choose a nearby recipient and follow the prompts. The recipient may need to make their device discoverable or accept the transfer. Quick Share availability, device visibility options, and the exact menus can depend on software and device settings.
Check the recipient and file before sending, particularly in a shared space. Nearby sharing is convenient, but visibility settings are worth reviewing so your device is discoverable only when you want it to be.
Discover Tools for Focus and Accessibility
Digital Wellbeing offers tools for managing screen habits, and accessibility shortcuts provide faster access to features such as magnification, captions, or screen readers.
Open Digital Wellbeing in Settings to see available options. Depending on your phone, you may find app timers, Focus mode, Bedtime mode, and a dashboard showing screen time and app use. An app timer can help you set a daily limit for a particular app; Focus mode can pause selected distracting apps for a period you choose. These tools support habits you set yourself, but they cannot enforce a routine if you keep overriding them.
Bedtime-related settings may dim the display, silence notifications, or adjust the screen on a schedule. Exact functions and labels differ, so check the options your device presents before relying on a particular behavior.
Accessibility shortcuts can make features easier to reach when you need them. In Settings, search for “Accessibility shortcut” or open the Accessibility menu. Depending on your device, you may be able to assign a shortcut to TalkBack, magnification, color correction, Live Caption, or another service. Shortcuts can use an on-screen button, a volume-key combination, or a gesture.
Accessibility tools are useful for many situations, not only permanent needs. Magnification can help with small text, while captions can make speech easier to follow in a noisy room. Try one feature at a time, and learn its shortcut before enabling several that might use the same gesture.
How to Check What Your Android Phone Supports
To check which hidden Android features your phone supports, confirm its Android version, search Settings for the feature name, and look for an equivalent option in the manufacturer’s menus.
Start with Settings search: enter terms such as “notification history,” “split screen,” “Quick Share,” or “Digital Wellbeing.” If search results are unclear, check the relevant category, such as Notifications, Privacy, Connected devices, or Accessibility. Menu names can change after software updates, so searching again is often more reliable than following an old set of screenshots.
To find your Android version, search Settings for “Android version” or “About phone.” The result is often listed under Software information or a similar heading. You can also check for a system update in Settings, though an update is not guaranteed to add every feature mentioned in a guide.
Keep this quick checklist in mind:
- Search first: Use Settings search when the menu path does not match your phone.
- Check the version: Some features require a particular Android release or a manufacturer update.
- Look for alternate names: Nearby Share is now called Quick Share, and other tools may also have brand-specific labels.
- Test the feature: Confirm it works with your apps and preferred settings before relying on it.
A missing option does not necessarily mean your phone is outdated. The manufacturer may use a different name, omit a feature, or offer a similar tool elsewhere. Conversely, seeing a setting does not guarantee every app supports it.
Do hidden Android features work on every phone?
No. Support can depend on Android version, device manufacturer, model, region, and app compatibility. Use Settings search to check your specific phone.
How do I find my Android version?
Open Settings and search for “Android version” or “About phone.” The version is commonly listed under a section such as Software information.
Can a feature have a different name on my phone?
Yes. Manufacturers can rename or relocate Android tools, and some features change names over time. Search for the function as well as its familiar name.
How do I restore a Quick Settings tile?
Open the expanded Quick Settings panel, tap the edit or pencil button, and look for the tile in the available controls. Drag it back into the active area if your phone supports tile editing.